* [devops] remove post commit ci * [misc] run pre-commit on all files * [pre-commit.ci] auto fixes from pre-commit.com hooks for more information, see https://pre-commit.ci --------- Co-authored-by: pre-commit-ci[bot] <66853113+pre-commit-ci[bot]@users.noreply.github.com> |
||
|---|---|---|
| .. | ||
| img | ||
| RAG_ChatBot.py | ||
| README.md | ||
| config.py | ||
| requirements.txt | ||
| server.py | ||
| utils.py | ||
| webui.py | ||
README.md
ColossalQA WebUI Demo
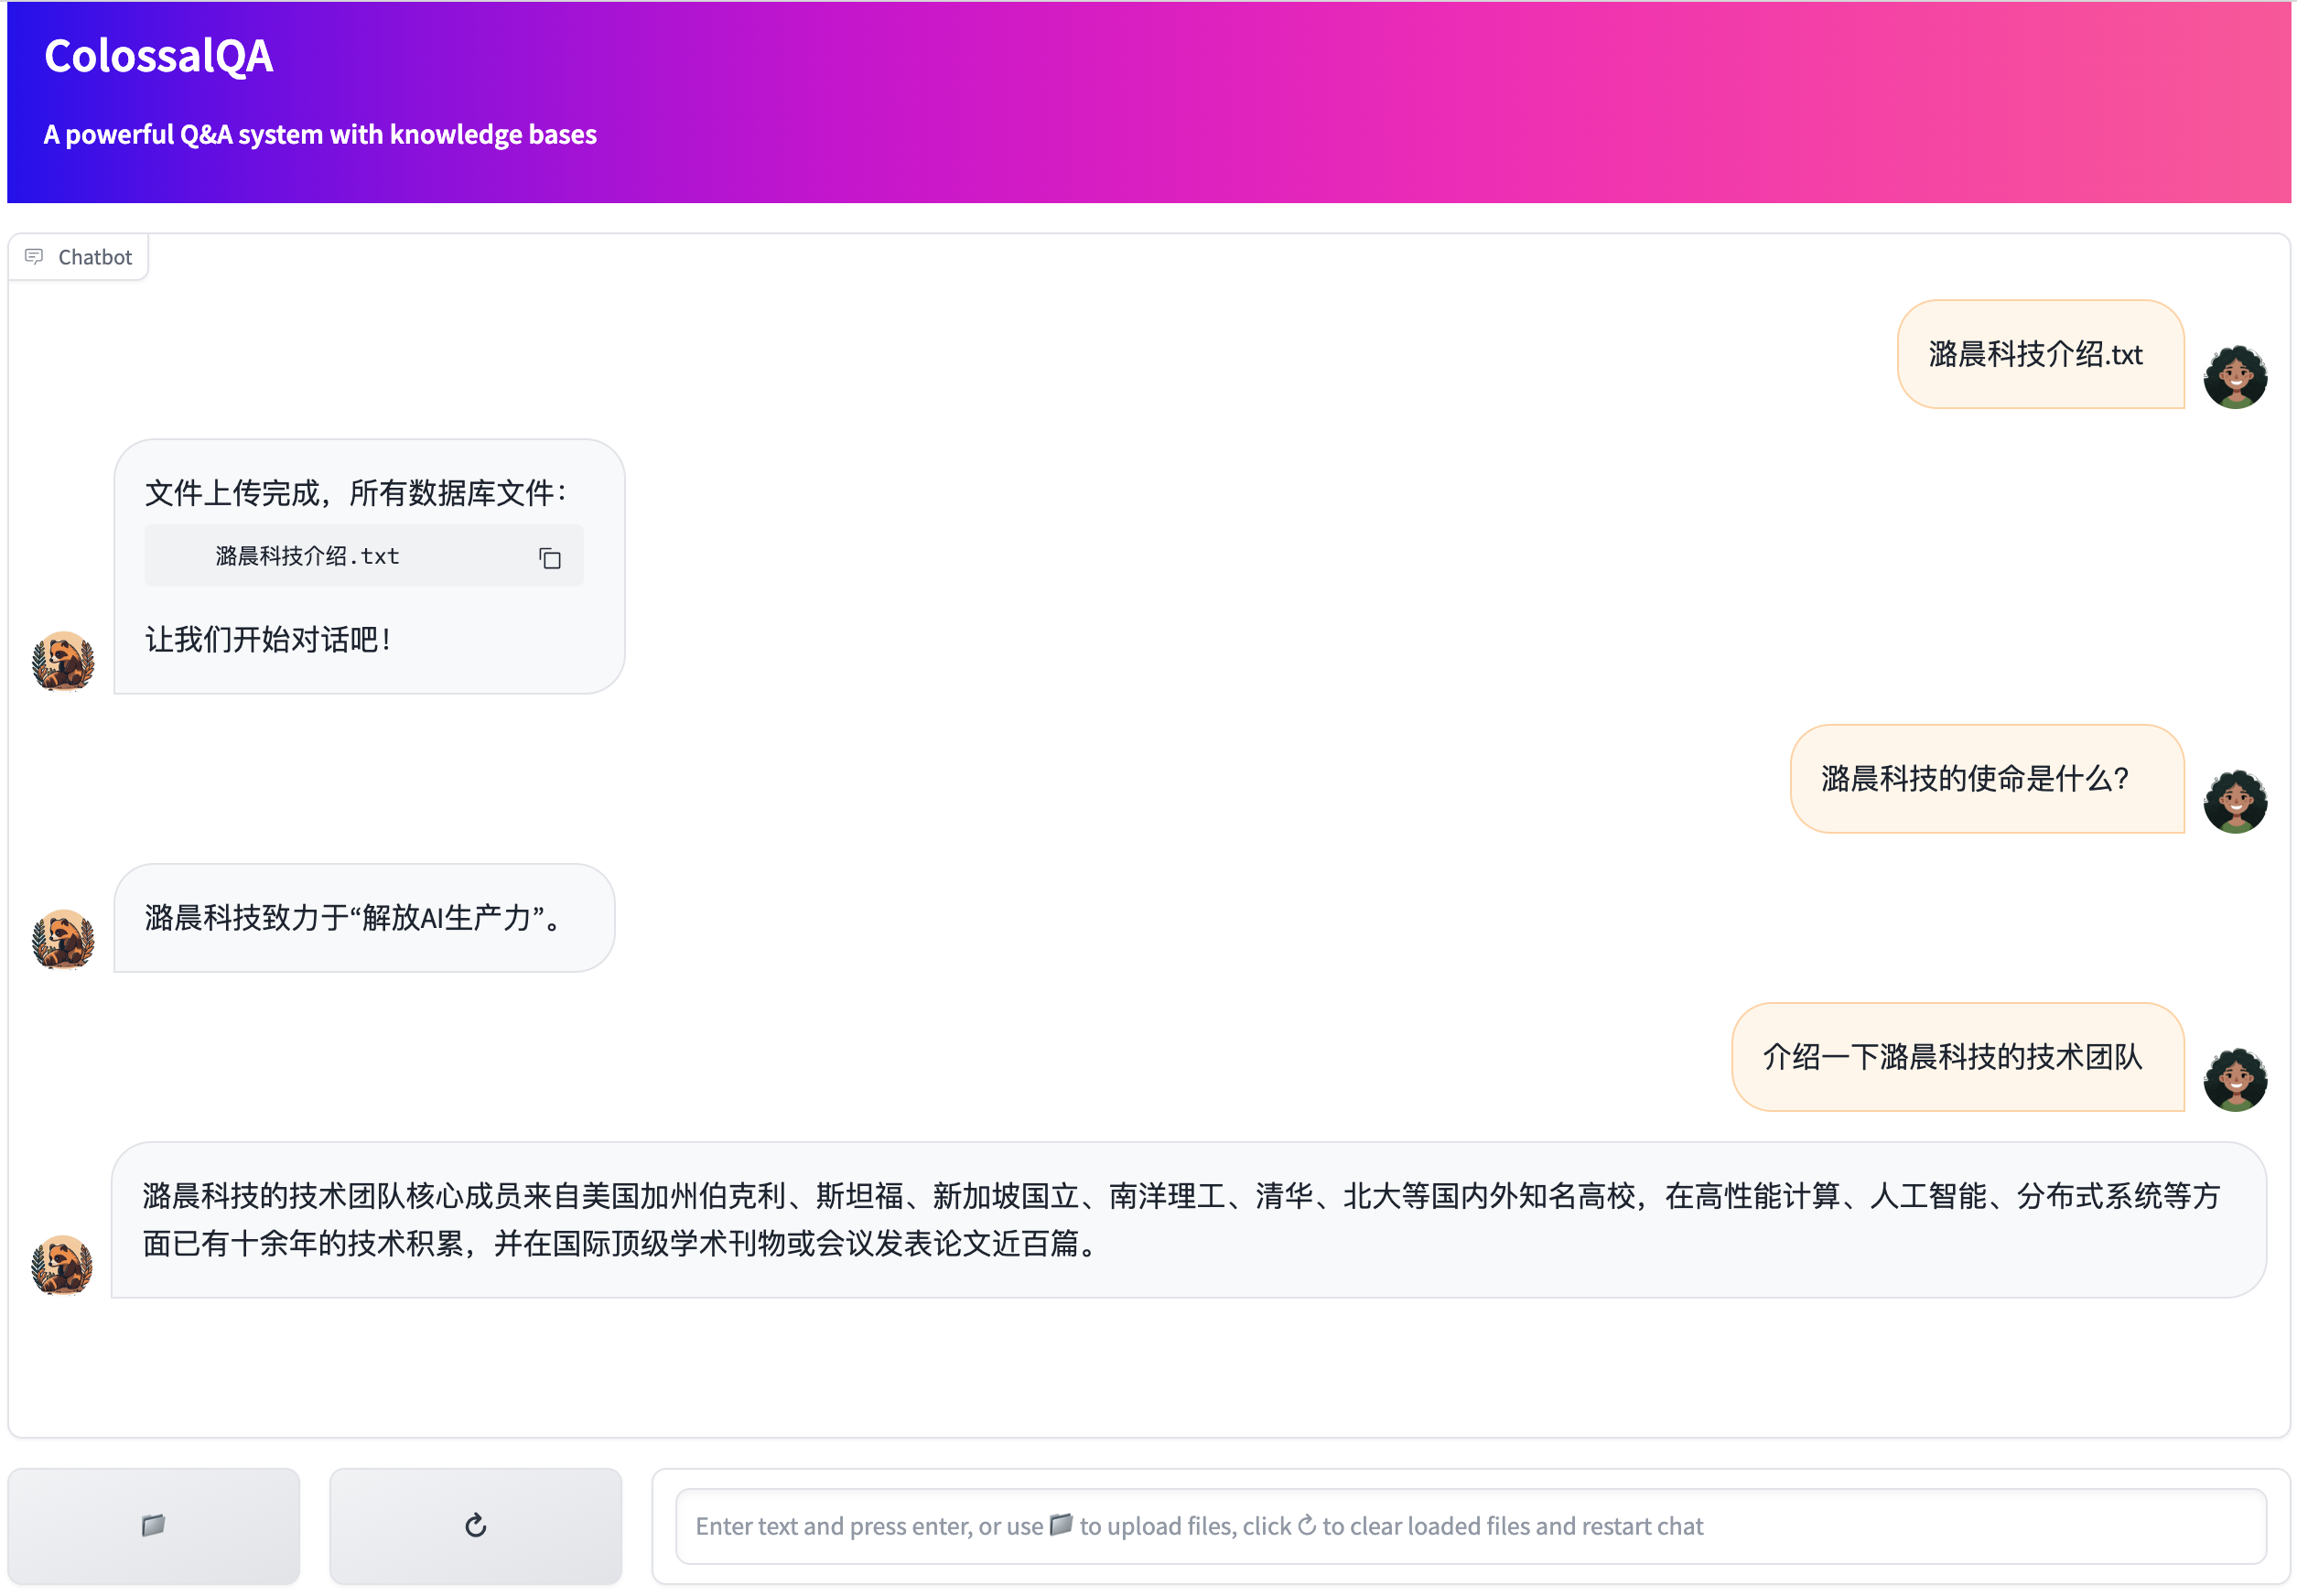
This demo provides a simple WebUI for ColossalQA, enabling you to upload your files as a knowledge base and interact with them through a chat interface in your browser.
The server.py initializes the backend RAG chain that can be backed by various language models (e.g., ChatGPT, Huawei Pangu, ChatGLM2). Meanwhile, webui.py launches a Gradio-supported chatbot interface.
Usage
Installation
First, install the necessary dependencies for ColossalQA:
git clone https://github.com/hpcaitech/ColossalAI.git
cd ColossalAI/applications/ColossalQA/
pip install -e .
Install the dependencies for ColossalQA webui demo:
pip install -r requirements.txt
Configure the RAG Chain
Customize the RAG Chain settings, such as the embedding model (default: moka-ai/m3e), the language model, and the prompts, in the config.py. Please refer to Prepare configuration file for the details of config.py.
For API-based language models (like ChatGPT or Huawei Pangu), provide your API key for authentication. For locally-run models, indicate the path to the model's checkpoint file.
Prepare configuration file
All configs are defined in ColossalQA/examples/webui_demo/config.py. You can primarily modify the bolded sections in the config to switch the embedding model and the large model loaded by the backend. Other parameters can be left as default or adjusted based on your specific requirements.
embed:embed_name: the embedding model nameembed_model_name_or_path: path to embedding model, could be a local path or a huggingface pathembed_model_device: device to load the embedding model
model:mode: "local" for loading models, "api" for using model apimodel_name: "chatgpt_api", "pangu_api", or your local model namemodel_path: path to the model, could be a local path or a huggingface path. don't need if mode="api"device: device to load the LLM
splitter:name: text splitter class name, the class should be imported at the beginning ofconfig.py
retrieval:retri_top_k: number of retrieval text which will be provided to the modelretri_kb_file_path: path to store database filesverbose: Boolean type, to control the level of detail in program output
chain:mem_summary_prompt: summary prompt templatemem_human_prefix: human prefix for promptmem_ai_prefix: AI assistant prefix for promptmem_max_tokens: max tokens for history informationmem_llm_kwargs: model's generation kwargs for summarizing historymax_new_tokens: inttemperature: intdo_sample: bool
disambig_prompt: disambiguate prompt templatedisambig_llm_kwargs: model's generation kwargs for disambiguating user's inputmax_new_tokens: inttemperature: intdo_sample: bool
gen_llm_kwargs: model's generation kwargsmax_new_tokens: inttemperature: intdo_sample: bool
gen_qa_prompt: generation prompt templateverbose: Boolean type, to control the level of detail in program output
Run WebUI Demo
Execute the following command to start the demo:
- If you want to use a local model as the backend model, you need to specify the model name and model path in
config.pyand run the following commands.
export TMP="path/to/store/tmp/files"
# start the backend server
python server.py --http_host "host" --http_port "port"

# in an another terminal, start the ui
python webui.py --http_host "your-backend-api-host" --http_port "your-backend-api-port"
- If you want to use chatgpt api as the backend model, you need to change the model mode to "api", change the model name to "chatgpt_api" in
config.py, and run the following commands.
export TMP="path/to/store/tmp/files"

# Auth info for OpenAI API
export OPENAI_API_KEY="YOUR_OPENAI_API_KEY"

# start the backend server
python server.py --http_host "host" --http_port "port"

# in an another terminal, start the ui
python webui.py --http_host "your-backend-api-host" --http_port "your-backend-api-port"
- If you want to use pangu api as the backend model, you need to change the model mode to "api", change the model name to "pangu_api" in
config.py, and run the following commands.
export TMP="path/to/store/tmp/files"

# Auth info for Pangu API
export URL=""
export USERNAME=""
export PASSWORD=""
export DOMAIN_NAME=""

# start the backend server
python server.py --http_host "host" --http_port "port"

# in an another terminal, start the ui
python webui.py --http_host "your-backend-api-host" --http_port "your-backend-api-port"
After launching the script, you can upload files and engage with the chatbot through your web browser.
